
Last updated November 21, 2026
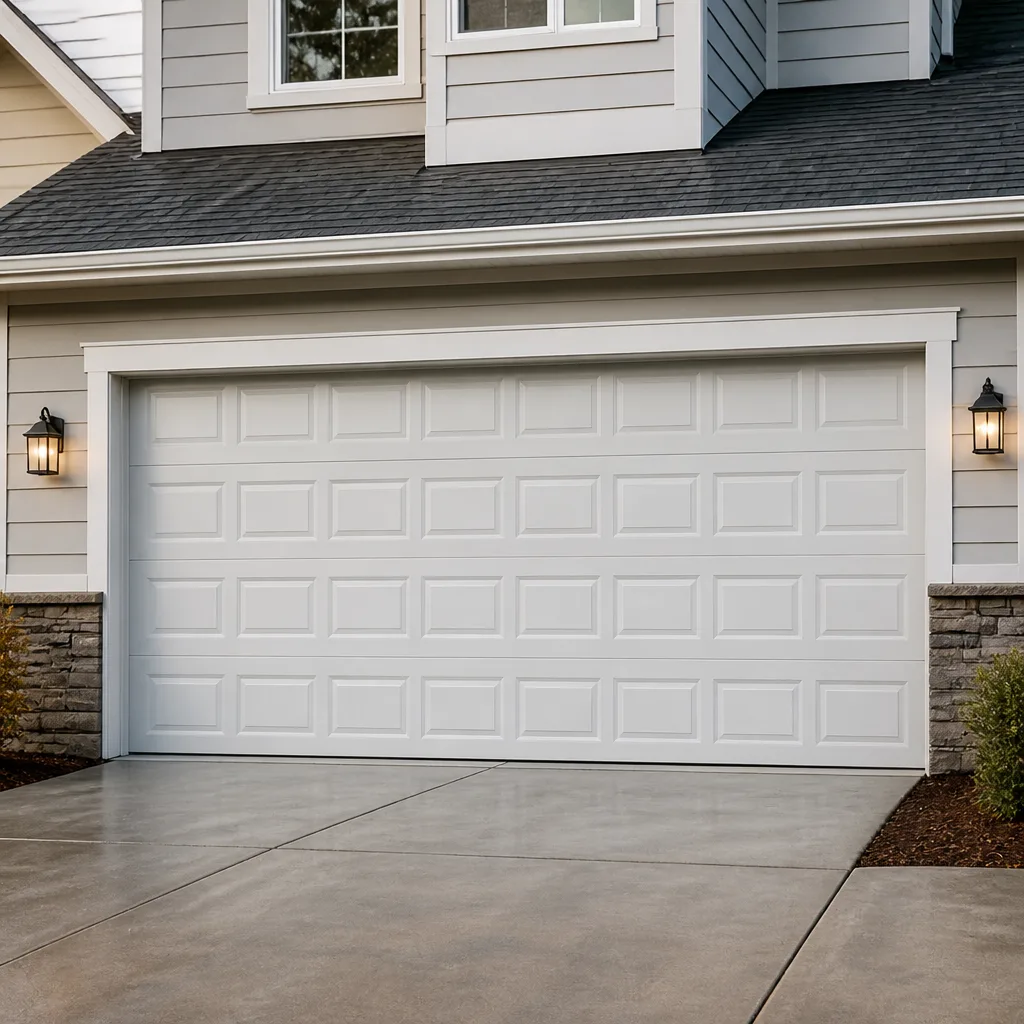 Raised-panel steel
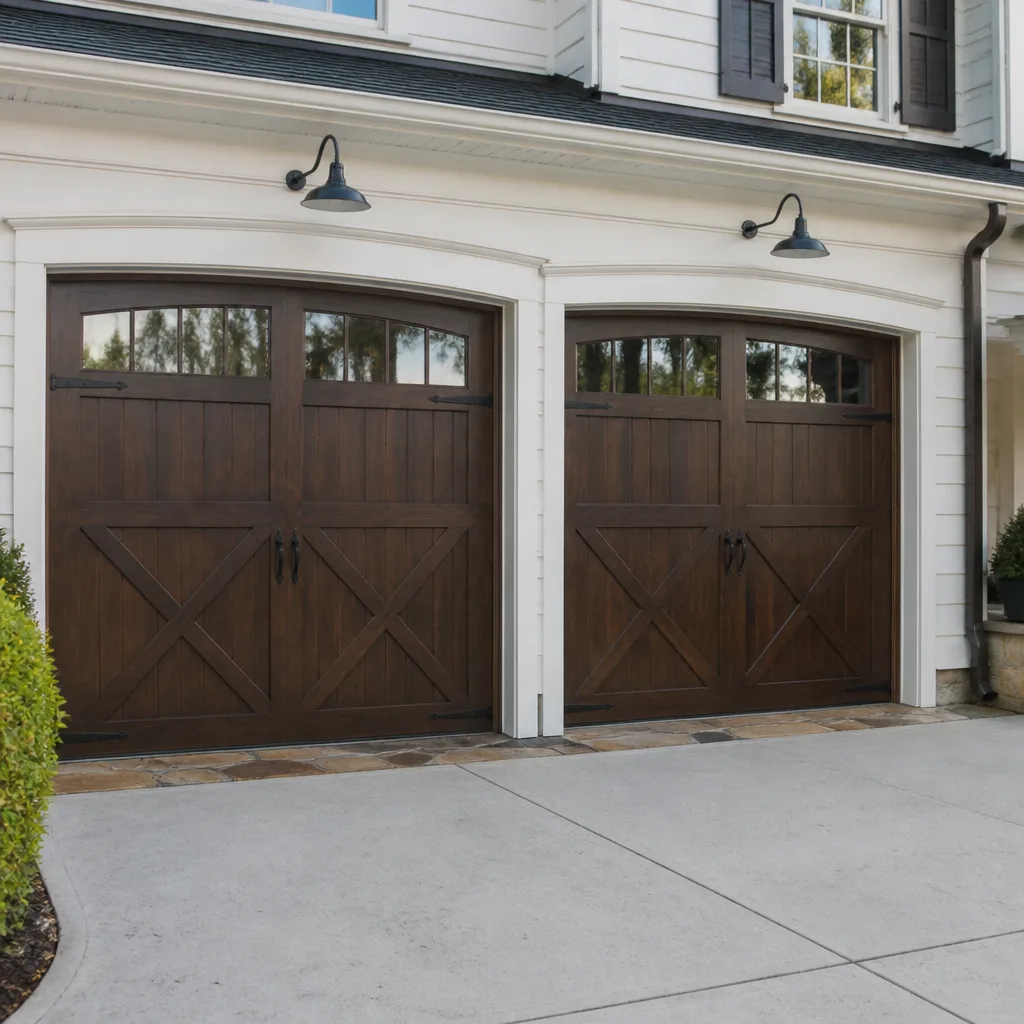 Carriage house
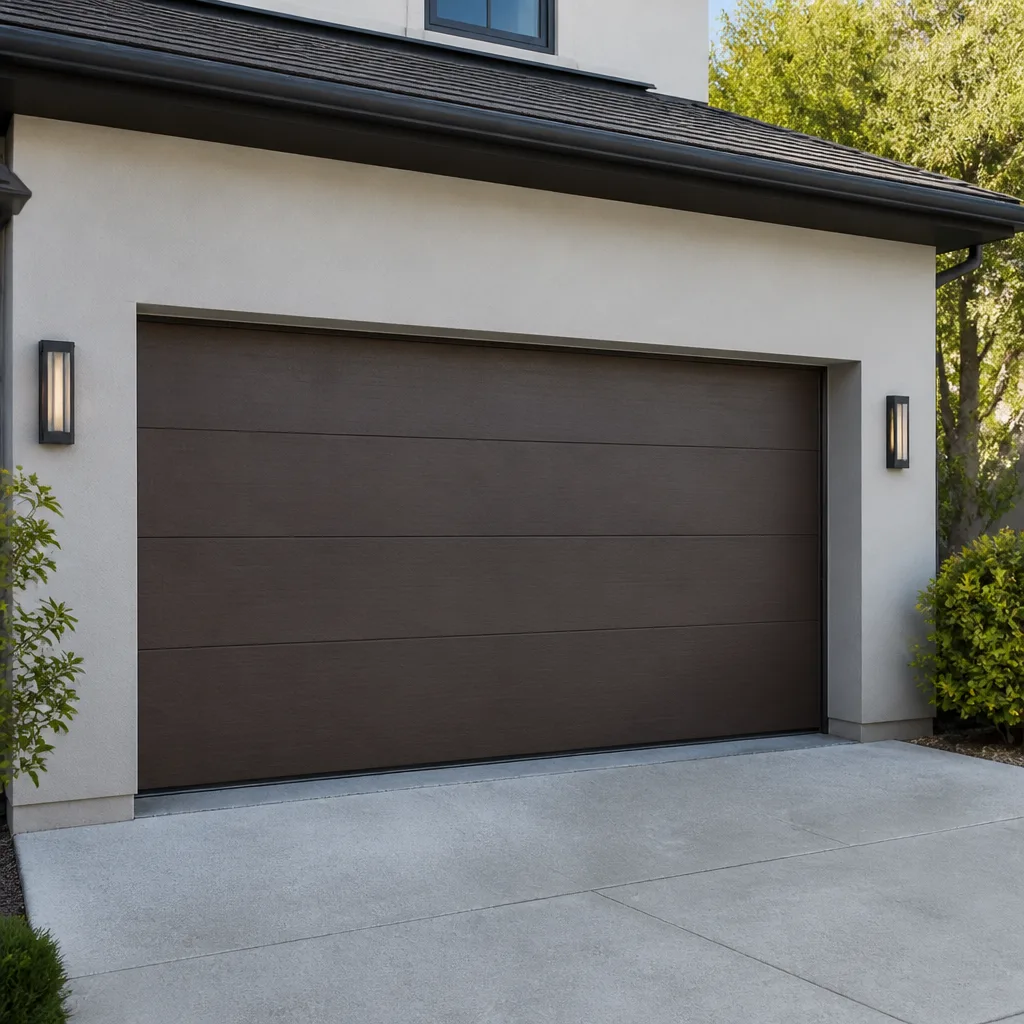 Modern flush
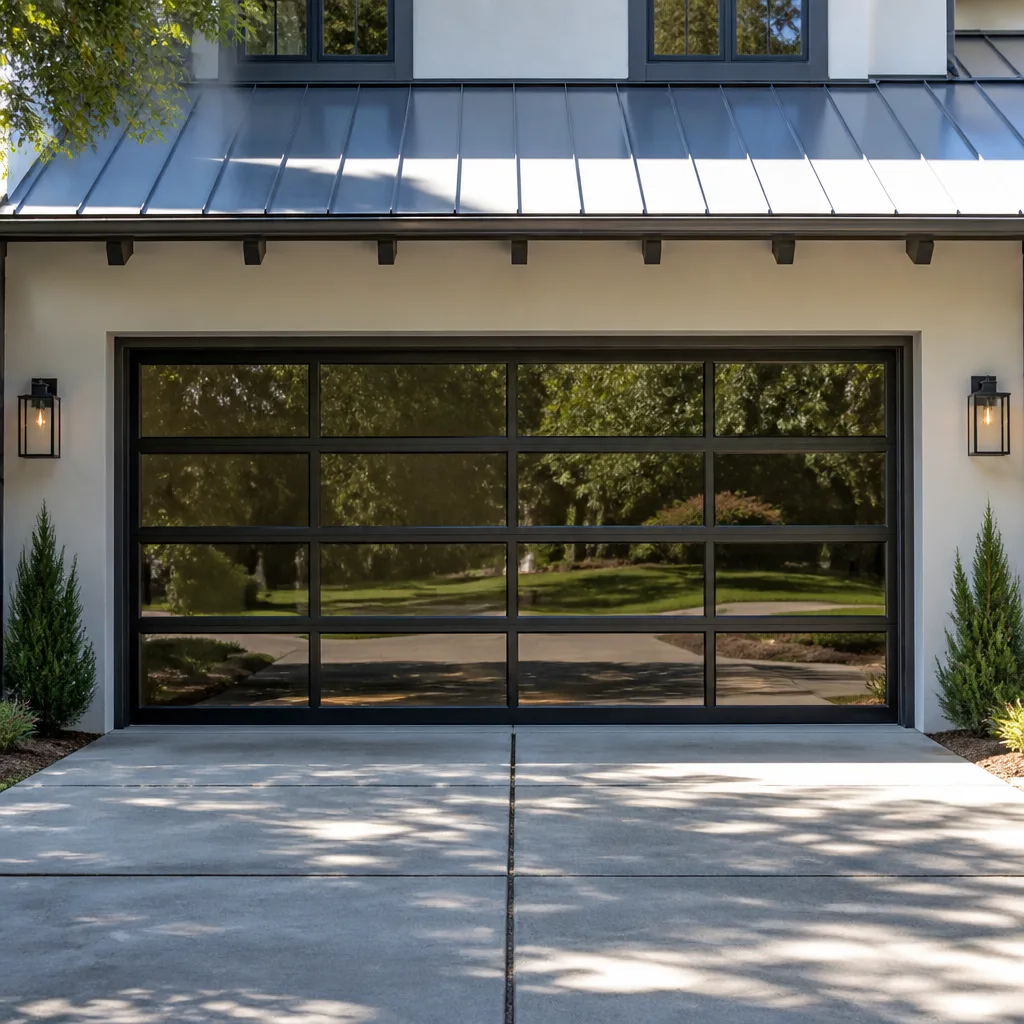 Full-view glass
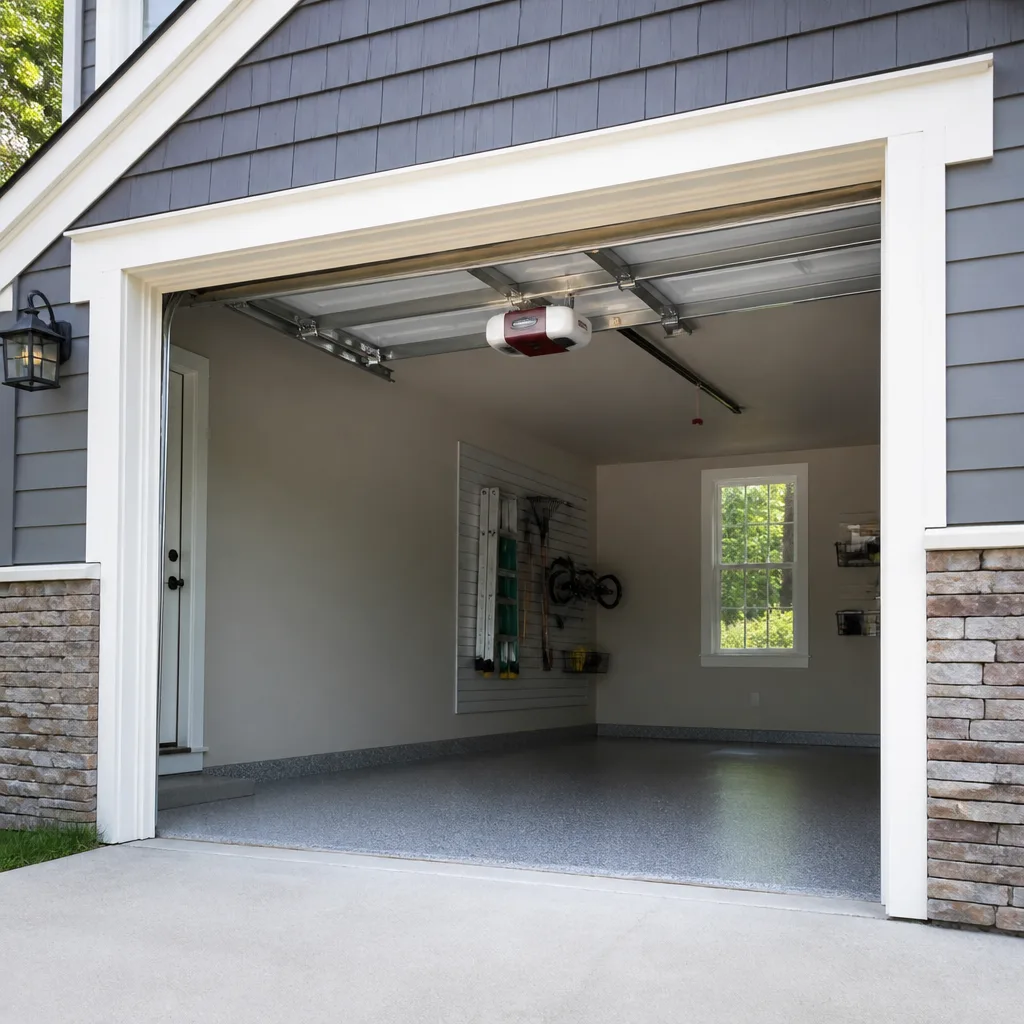 LiftMaster openers
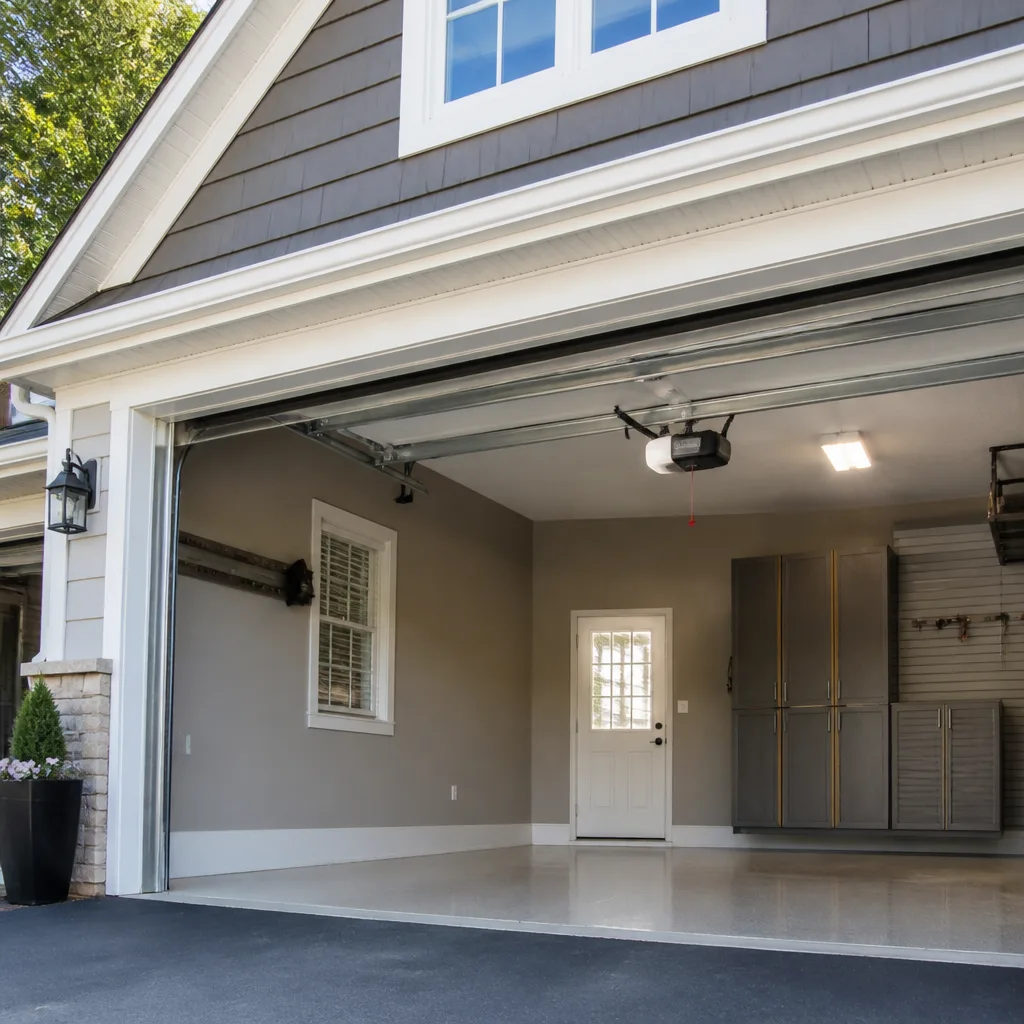 Chamberlain openers
Full 25-point door and opener safety check with every visit - springs, cables, rollers, tracks, and your LiftMaster or Chamberlain opener included
You get a price before we start. It does not change when the pro arrives.
Get your free estimateGarage Door Repair Maintenance Checklist for South Ozone Park Homeowners
The number one reason a routine repair turns into a much bigger bill isn’t a snapped spring. It’s a small problem that was visible six months earlier and nobody knew to look for it. Most maintenance checklists you’ll find online tell you to lubricate the springs and test the balance, then stop. They skip the failure points that actually send South Ozone Park homeowners into emergency calls: bottom seals that rot after street flooding, cables that fray faster through sharp temperature swings, and openers that fail quietly because nobody ever opened the housing. This guide is sequenced by what breaks first, not alphabetically. You’ll get a five-minute monthly walk-around, a longer seasonal inspection, and the exact line where do-it-yourself work should stop.
Quick Answer
A garage door maintenance checklist for South Ozone Park should cover monthly visual checks (seals, cables, springs, hinges, hardware) and a twice-yearly deeper inspection (balance test, opener force and safety reverse test, lubricating metal parts). The jobs you should never handle yourself are spring and cable work: those parts are under high tension and are the most dangerous components on the whole door. Everything else on this list takes about thirty minutes and prevents most emergency calls before they start.
Styles & brands we work with
- Raised-panel steel
- Carriage house
- Modern flush
- Full-view glass
- LiftMaster openers
- Chamberlain openers
Table of Contents
- Why the Order of Your Checklist Matters
- The 5-Minute Monthly Walk-Around
- After Street Flooding: What to Check First
- The 30-Minute Seasonal Inspection
- How to Test Spring and Cable Tension Safely
- Opener Maintenance by Brand
- What to Photograph and Document
- Common Mistakes to Avoid
- When to Call a Professional
- Frequently Asked Questions
Why the Order of Your Checklist Matters
A garage door is a system, not a collection of parts. One weak component loads extra stress onto everything above it. When a bottom seal stops sealing, water and grit work their way up into the bottom brackets and cables. When a roller stops spinning, the door drags, and that drag wears the opener gear and the spring cycle life. Start at the bottom and work up, and you’ll catch the cause instead of the effect. That’s the logic behind the sequence here.
We’ve seen this pattern often enough that we built our diagnostic routine around it. A technician starting with the opener is looking in the wrong place. The opener usually fails because the door got heavy, not because the motor went bad. If you learn one thing from this guide, learn the bottom-first order.
South Ozone Park adds its own local pressure. The neighborhood sits in low-lying Queens, close to Jamaica Bay and Aqueduct Racetrack, and some streets take on water during heavy summer storms and the thaw that follows a hard winter. Moisture gathers in garages and creeps up the door from below. That’s why the bottom seal is first on this list, not last.
The 5-Minute Monthly Walk-Around
This is the part you can actually keep up with: five minutes, no tools, once a month. Do it with the door closed, then again with the door open if you can. Four quick passes, bottom to top.
- The bottom seal. Run a hand along the rubber or vinyl flap at the bottom of the door. Feel for cracks, tears, or sections that look flattened or torn away. A seal that’s split pulls away from the concrete, and water gets underneath on the next storm.
- The cables. Look at the two steel cables along the sides. Frays, kinks, or rust stains where the cable turns around the drum are early warning signs of a cable that’s about to let go.
- The springs. Do a visual check only. A torsion spring is the coil above the door; an extension spring sits along the side tracks. Look for visible gaps in the coil or dark stains. Never reach into or under a spring to feel it.
- The hinges and rollers. Wobble each hinge by hand and spin each roller. Hinges should be snug, and rollers should turn freely. A roller that slides instead of rolling means drag on the whole system.
If something looks off, it’s worth noting. Most door problems announce themselves well before they fail. Catch something on a monthly walk-around and you can often deal with it on a normal repair visit instead of a same-day emergency. We work across all the major door brands, so whatever your door is, this walk-around applies the same way.
After Street Flooding: What to Check First
Low-lying blocks around South Ozone Park take on water during heavy summer storms and when snow piles melt too fast. When it does, water finds its way into garages through driveways and door gaps. That’s a specific checklist: what to look at the moment the water recedes.
- The bottom seal. If the seal is already worn, standing water forces its way into the gap and soaks the bottom of the door. Old or worn rubber absorbs water and stays damp, which is where rot begins.
- The bottom brackets and cables. Water and road salt collect in the bottom brackets. Rust on a cable at that low point is where frays usually begin. If you see orange-brown staining where the cable meets the bracket, that cable is a candidate for replacement.
- The tracks. Grit and silt wash into the track channels and get compacted under the rollers. In South Ozone Park, fine sediment in the water can leave a coating that makes the door stutter on the way up.
- The opener housing. Water rarely gets into a ceiling-mounted opener, but damp in the garage can leave condensation inside the housing. If the opener sounds different after a flooding event, don’t dismiss it.
Clean the tracks with a damp rag and check the bottom seal by hand. If the seal stays wet or looks washed out, replace it. If the cable shows rust or fraying at the bottom bracket, stop using the door and get a technician out. Rust we can see now is a cable that lets go in a few months.
The 30-Minute Seasonal Inspection
Twice a year, once after winter and once before it, set aside half an hour for a deeper inspection. This catches the things a five-minute walk misses. Do it in the order below so each step builds on the last.
- Balance test. Pull the manual release cord to disconnect the opener. Raise the door by hand to about halfway and let it go. A balanced door should hold there or drift slowly; one that slams down is overloaded and should not be used. Then push it back down by hand. It should move smoothly, without force.
- Safety reverse test. Reconnect the opener. Lay a piece of wood flat on the ground under the door, or place a box in the door’s path, and close the door. The door should reverse when it hits the object. If it stops but doesn’t reverse, the force setting is too high.
- Lubricate metal parts. Apply a small amount of garage-door lubricant to hinges, rollers, the channel the roller rides in, and any pivot point. Wipe off excess so it doesn’t attract grit. Do not lubricate cables or springs.
- Inspect hardware and bolts. Check that all hinges and bracket bolts are tight. Loose hardware under vibration can pull loose. If a bolt won’t tighten, it may be stripping its hole, which is a sign the bracket needs replacing.
- Check the weatherstripping around the frame. The strips along the sides and top of the frame can dry out and pull away. If daylight shows through when the door is closed, the seal is compromised.
Temperature swings between a cold winter and a humid summer push a garage door through more stress cycles than in cooler climates. That’s exactly why seasonal inspection matters here. A door that tests perfectly in June may need attention by November.
How to Test Spring and Cable Tension Safely
Here’s the short answer: you don’t test spring tension with your hands. Spring and cable work is where do-it-yourself maintenance stops and a technician starts. A garage door torsion spring is wound tight under enormous force, and a snapping spring or cable can cause serious injury. No checklist item on a general maintenance guide is worth the risk. What you can do is a visual check, then act on the signs.
What’s safe to notice:
- Visible gaps in the coil of a torsion spring
- Dark or rust-colored staining on or near the springs
- A door that suddenly feels much heavier than it used to
- A door that only opens part of the way, or hangs halfway as if stuck
- Cables that are loose on one side, or that appear to hang off their drum
- Loud popping or banging when the door opens or closes
Any of those signs mean the door should stay closed and a technician should look at it. This is spring repair done safely, and there’s no shortcut. A technician can diagnose and repair both types of springs: torsion and extension. That distinction matters in older South Ozone Park homes, where extension springs on older doors are common and need a little different handling.
On the balance test above, you’re checking the door’s overall condition, not measuring spring tension directly. The door holding still at halfway means the springs and the door weight are matched. A door falling shut on its own means the springs are out of balance or worn out, and it’s time for a service call, not a tightening at home.
Opener Maintenance by Brand
The opener is the one part of the system you can inspect without worrying about tension. Three brands dominate in South Ozone Park garages: LiftMaster, Chamberlain, and Genie. Each has a slightly different maintenance routine.
LiftMaster
LiftMaster openers, like other belt and chain drive units, need their force and travel limits checked twice a year. These run on the same MyQ-style smart platform as many newer doors, so testing the safety reverse and checking the wall control are part of the routine. If the opener runs but the door doesn’t move, or the opener stops partway, that’s usually a sign to call for garage door opener repair rather than replacing the motor.
Chamberlain
Chamberlain openers use the same chain and belt drive design, and the maintenance is mostly about keeping the chain at the right tension and the rail lubricated. On older Chamberlain units, listen for a grinding or whining sound as the door starts. That’s gear wear, and it’s easier to fix early than after the gear strips completely.
Genie
Genie openers from older South Ozone Park garages tend to be screw-drive or chain-drive models. Screw-drive openers are quieter but need their screw lubricated on a schedule; if the screw starts making a grinding noise, it’s dry. Chain-drive Genies need the same chain tension check as the other brands.
If your opener is a Clopay, Amarr, Wayne Dalton, or Craftsman system, the same principles apply. Ours is a single-trade focus, so every technician works on garage doors and openers, not a side business. The most common opener problems we’re called for are worn gears, failed safety sensors, and remotes that stop pairing. All are fixable on a normal visit.
What to Photograph and Document
Keep a small folder of photos on your phone with each inspection. When something fails, you’ll have a timeline of what the door looked like and when. That speeds up diagnosis and sometimes saves an unnecessary visit.
- Photo the bottom seal with the door closed, at the two ends and the middle. Note the date in the photo description.
- Photo each cable near the bottom bracket. Rust and fraying show up there first. Compare the photos month to month.
- Photo the springs. A clear side view of each spring, so a technician can see the type and condition.
- Photo the opener model sticker. It’s usually on the back of the motor housing. Note the brand, the model number, and the date you last changed the battery in the remote.
- Write down the symptoms. “Opens to about half then reverses” or “grinding noise at the start” are useful descriptions. A technician can work from those.
Bring those photos when you call. A remote diagnosis is often accurate enough to know whether a repair can wait or should be scheduled now. If a technician needs to see the door, a measure and written estimate start the process, and you’ll know the price before any work is scheduled.
Common Mistakes to Avoid
- Lubricating the springs and cables. Lubricant on cables does nothing useful and can hide rust and fraying under a slick coating. On torsion springs it attracts grit, which wears the coils. Dry, clean springs are safer and easier to inspect.
- Pushing a door shut with your hand when the opener fails. A door that has lost a spring, or one that’s out of balance, can slam on you. Leave it closed and call.
- Skipping the bottom seal after a flood. In South Ozone Park, a wet seal is the start of rot. If it’s soft, split, or pulls away from the ground, it’s already a problem.
- Ignoring opener noises. A grinding or whining opener means the motor is working against load. Left alone, it can wear out or damage the door. A quick repair now is cheaper than a new opener later.
- Setting the opener’s force too high. Cranking up the force to stop a door from reversing is dangerous. A garage door should reverse when it hits an object, every time.
- Doing spring repair yourself. This is the one mistake we hope nobody makes. A torsion spring or cable under load is a serious injury risk. Have a technician handle it.
- Not documenting anything. Without photos, you’re guessing what changed. A quick photo log saves time and helps a technician see what you’re dealing with.
When to Call a Professional
Call when the door won’t open at all, when it opens only partway, when a spring looks broken, or when a cable shows rust or fraying. Those are the situations that are dangerous to handle without training. Also call if the opener is grinding or whining, or if the safety reverse test fails twice in a row. Those are the visible signs of a door problem that a maintenance check only flagged.
If your door is beyond economical repair, we also handle garage door installation, so a repair finding that ends in a replacement doesn’t need a second contractor. Garage Door Repair South Ozone Park offers free estimates in South Ozone Park. Call (877) 810-4860.
Frequently Asked Questions
Monthly for the five-minute visual walk-around, and twice a year for the deeper seasonal inspection. That schedule matches the local climate: humid summers, cold winters, and periodic street flooding. A door that gets a monthly check is far less likely to need an emergency visit.
You can do a visual inspection and the balance test, but do not adjust or attempt to remove a spring or cable yourself. Those parts are under high tension and can cause serious injury. Any sign of a broken spring, loose cable, or a door that feels much heavier than usual means it’s a technician’s job.
Check the bottom seal, the bottom brackets and cables, and the tracks. Water and sediment from street flooding get into the door gap and can rust the cable near the bottom bracket. Clean the tracks, feel along the seal, and look for rust on the cable. If anything looks off, call and schedule an inspection.
Usually not on your own. A humming opener with a stationary door is often a stripped gear, a broken spring, or a disconnected trolley. Those are all starter symptoms of a repair that a technician should handle. If the spring is broken, stop using the door and call.
Yes, and you should do the test yourself twice a year. Place an object in the door’s path and close it. The door should reverse. If it doesn’t, force settings need adjusting, and that’s worth a repair visit. All of those brands respond to the same test.
Garage door repair in South Ozone Park is quoted per job by a written estimate, and the price is agreed before any work starts. Small fixes cost less than spring replacement or opener work. The fastest way to know your price is to call for a free estimate, describe what happened, and get a written quote.
The Bottom Line
A garage door maintenance checklist works when it’s built around what actually breaks first. In South Ozone Park that means starting at the bottom seal and the bottom brackets, where street flooding and temperature swings do the most damage, and working up through the cables, springs, hardware, and opener. Do the five-minute walk every month and the deeper seasonal inspection twice a year. Keep a photo log so any visit is faster. Leave the spring and cable work to a technician. That’s how a routine repair stays a routine repair.
Call (877) 810-4860 for a free estimate. We answer 24/7. Fast dispatch from 7am to 7pm, Sunday through Friday.
Written by the team at Garage Door Repair South Ozone Park.
See the difference
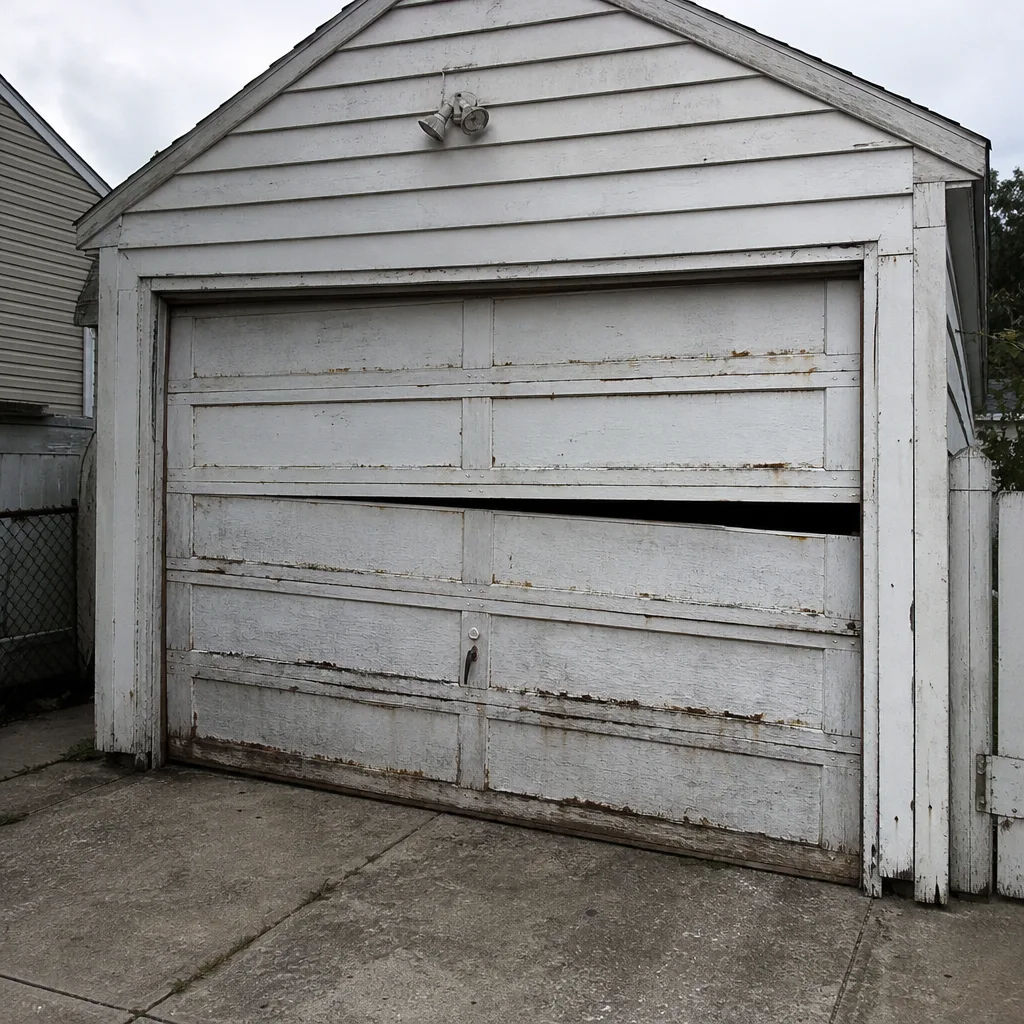 Before
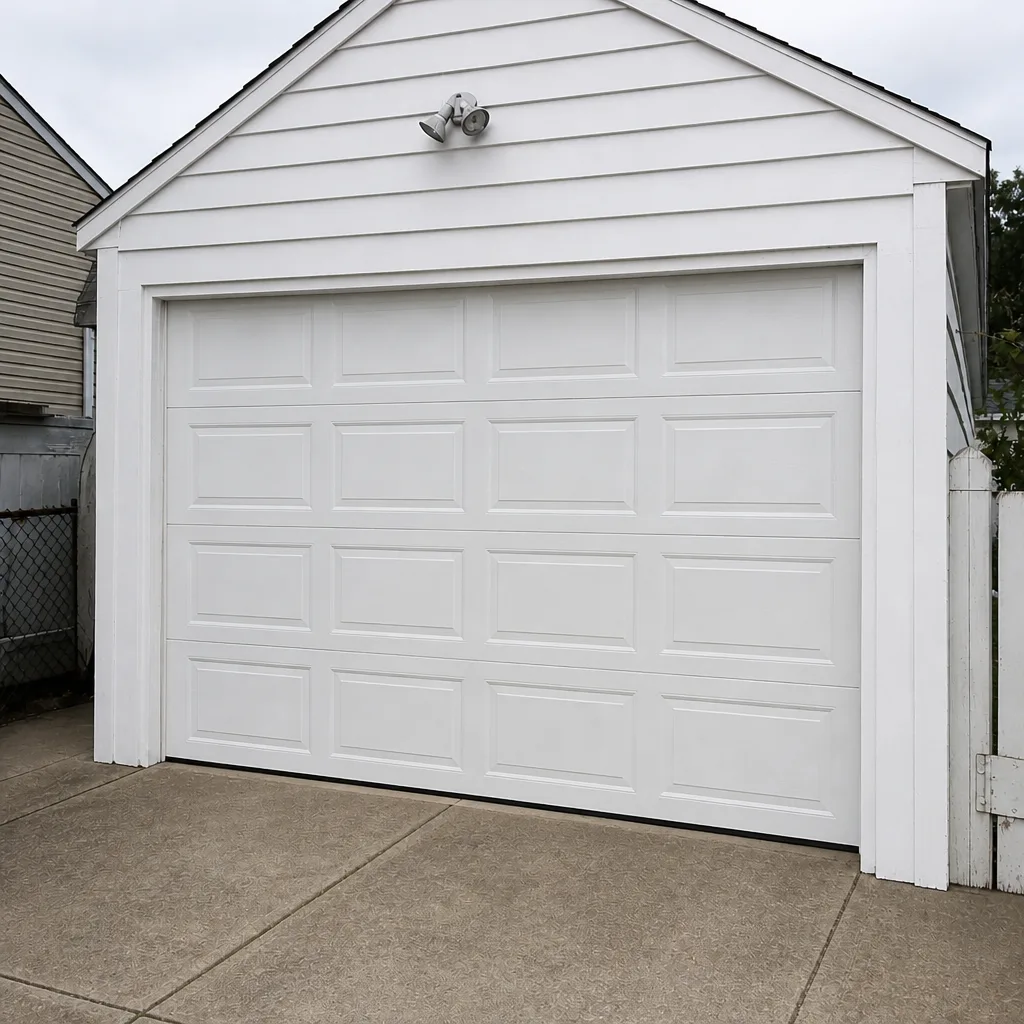 After
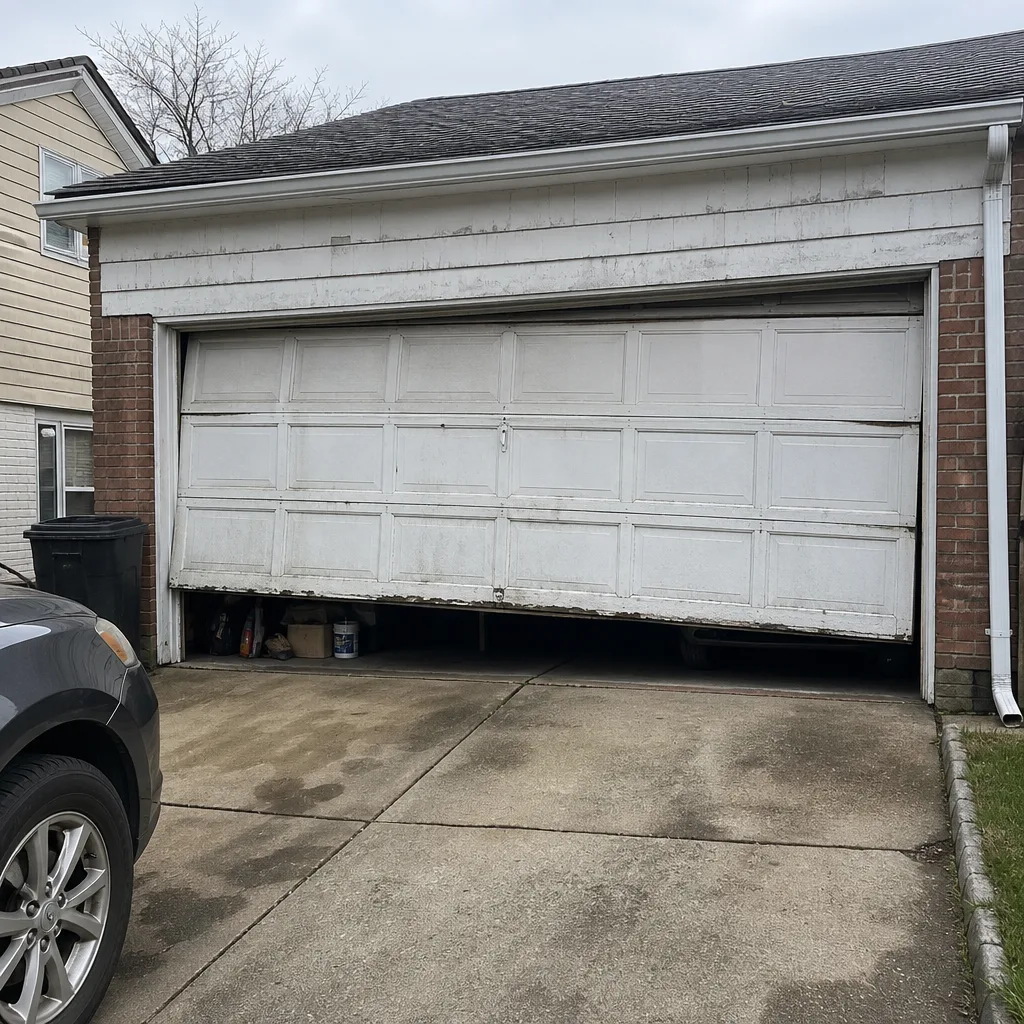 Before
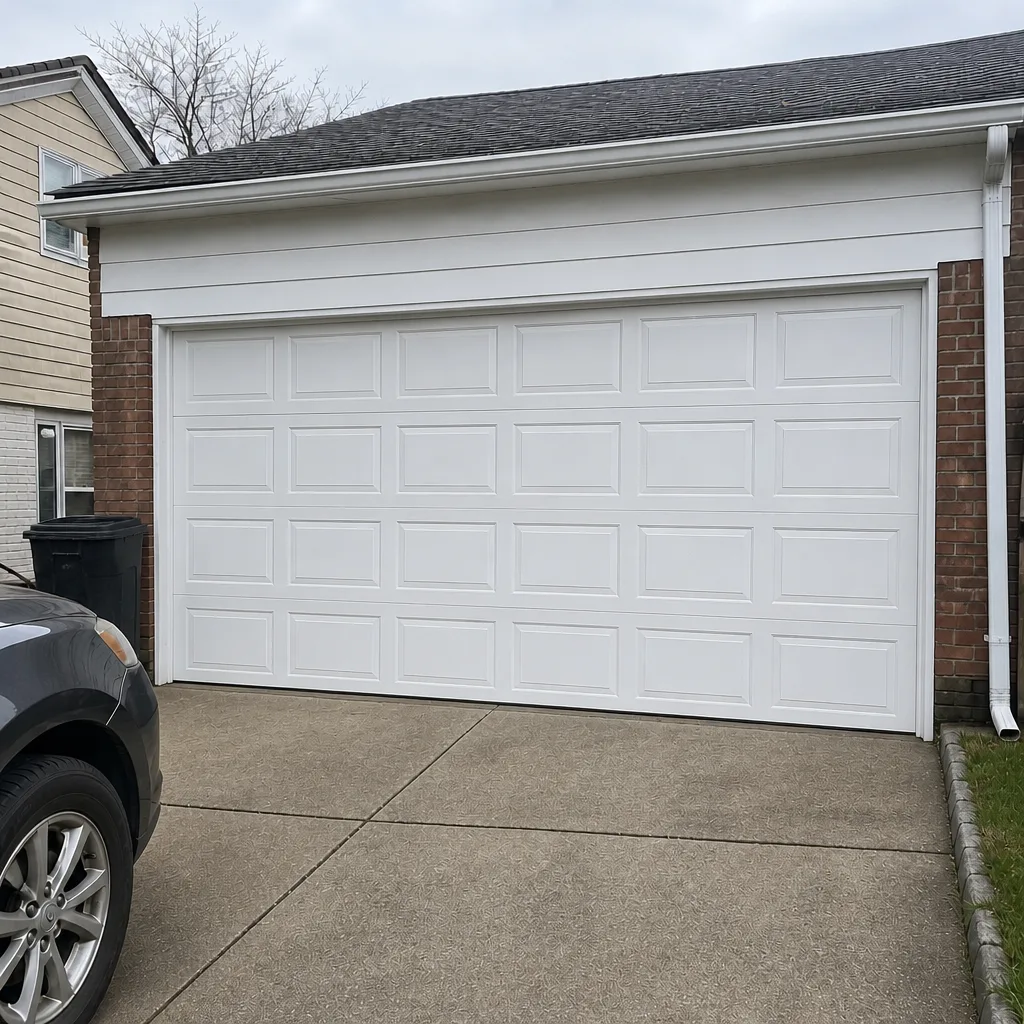 After
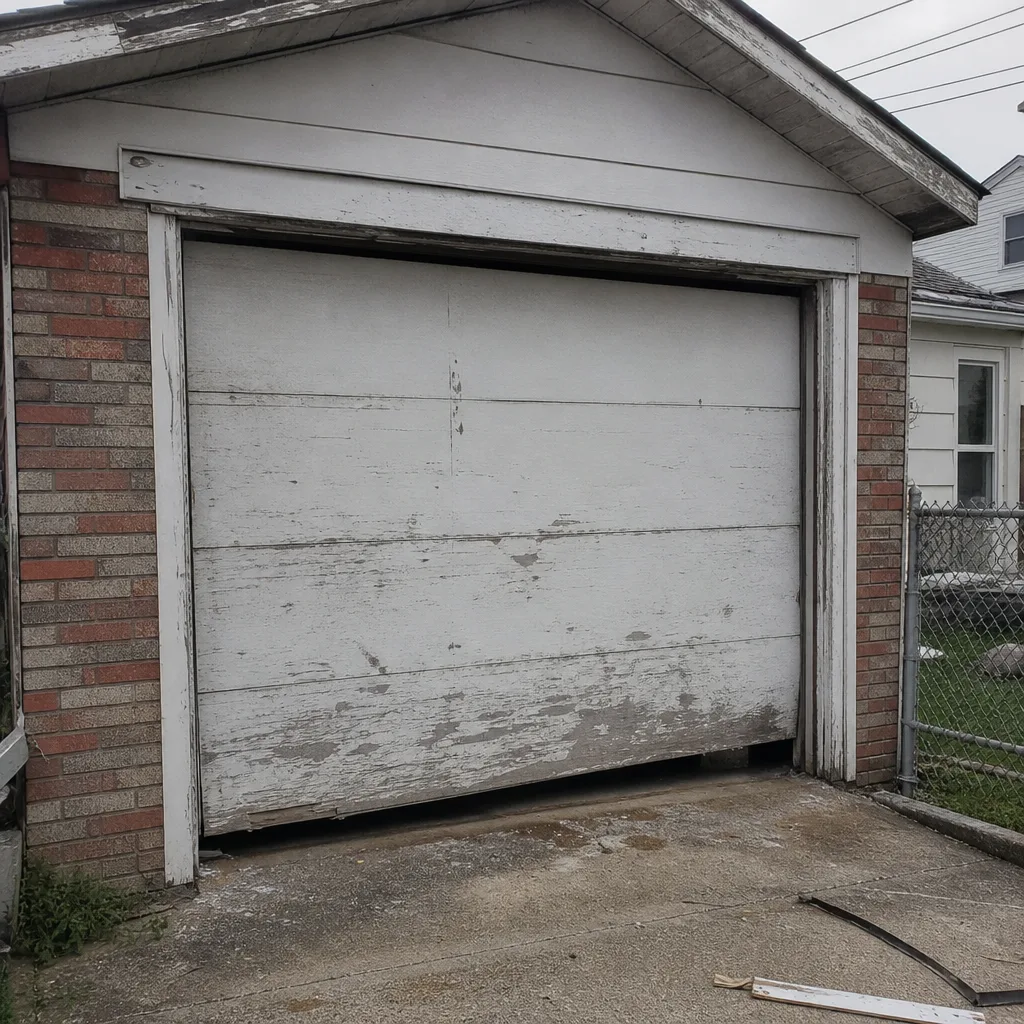 Before
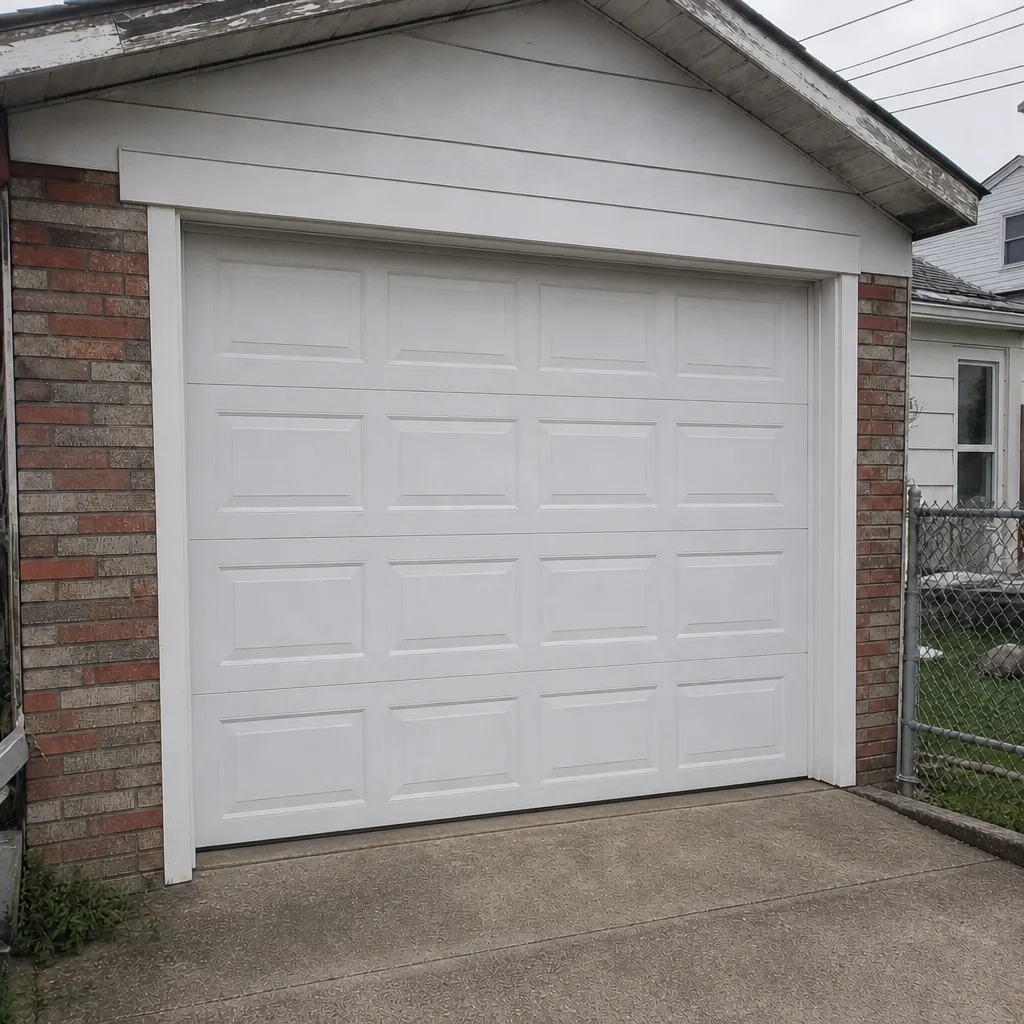 After